Repeatable observation
How to compare both hands under the same conditions
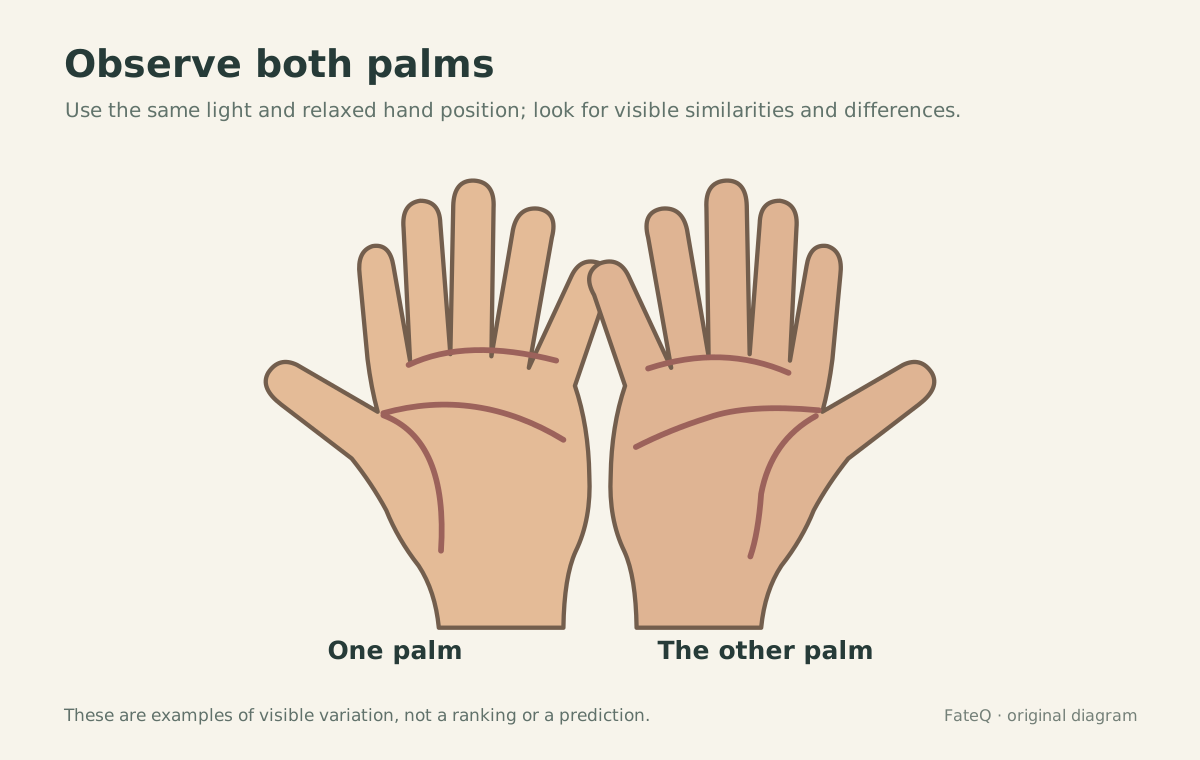
Two palms can look different, but comparison is useful only when light, position, pressure, and viewing order remain consistent. Begin with a repeatable observation—not a story about which hand reveals destiny.
Do not assign roles before you look
Palmistry schools variously describe one hand as inherited and the other as developed, one as inner and the other as outer, or choose a hand according to gender or dominance. Those conventions are inconsistent and should not be presented as anatomical fact.
For a careful comparison, record handedness as context but give neither hand authority in advance. Label the photographs or notes simply left and right. If you later explore a traditional system, name its rule explicitly and keep that interpretation separate from what is visible.
Create the same viewing conditions
Use diffuse light from the same direction. Remove rings only if the person wants to, let both hands rest naturally, and avoid stretching the fingers hard or pressing the palm flat. Tension and shadow can make a crease appear stronger, shorter, or more broken than it does in a relaxed hand.
If photographing, use the same background, camera distance, angle, focus, and exposure for each palm. Include the full wrist and fingertips so landmarks remain comparable. Do not enhance one image differently from the other; sharpening and contrast can manufacture apparent differences.
Use the same observation order
- Overall frame: Note palm width and length, finger position, and whether the hand is equally relaxed.
- Major crease routes: Locate the upper transverse, middle transverse, and thumb-curving creases by their paths—not by assumed meanings.
- Starting and ending points: Compare landmarks such as the palm edge, finger bases, and thumb mound.
- Line appearance: Record which segments look pronounced, faint, continuous, interrupted, crossed, or branching.
- Surface context: Note visible calluses, scars, dryness, or lighting differences without guessing their cause.
Finish one category on both hands before moving to the next. This reduces the temptation to build a dramatic story from the first difference noticed.
Distinguish a hand difference from an image difference
When a crease seems fainter on one side, change neither interpretation nor conclusion yet. First rotate both hands equally, check the light, and look in person if a photograph created the comparison. A line hidden by glare or relaxed skin is not the same observation as a line that follows a different route.
Mark uncertainty directly: “The ending is not clear in this image” is a valid record. Formal research on palm creases uses defined landmarks and consistent collection methods precisely because loose visual judgments are difficult to reproduce.
Record difference without ranking it
Use paired sentences: “On the left, the upper crease reaches the outer edge; on the right, it appears to end earlier,” or “This branch is visible on the right and not visible under the same light on the left.” Avoid “strong hand,” “weak hand,” “better line,” or “blocked future.” Those labels turn variation into a verdict.
If another person’s hands are being observed, invite correction and protect privacy. A photograph of a palm is still personal data. Ask before taking, storing, sharing, or comparing it, and delete it when the agreed purpose is complete.
Add tradition only as a named lens
After the neutral record, a palmistry tradition may use the contrast as a reflective prompt about habits, roles, or change. Phrase it conditionally: “In this school, the difference is sometimes read as…” Then ask whether the prompt fits the person’s experience. It cannot establish personality, health, wealth, lifespan, or a future event.
Repeating the observation later can show whether posture, photography, skin condition, or visible creases look different. It does not prove that fate changed. Keep the method modest enough that another observer could understand exactly how the comparison was made.